
| OS Route Map → | GPX Route file → |
Date: 21 Nov 2008
Start / Finish: Eskdale Green.
Maps: Explorer OL6 English Lakes SW.
| Day 1 | Rough Crag & Great Worm Crag | 6.0 miles / 1870 feet (9.7km / 570m) |
| Day 2 | Green Crag & Crook Crag | 7.1 miles / 840 feet (11.4km / 256m) |
A short 2-day circuit of the Birker fells on the southern side of lower Eskdale, a generally little trodden corner of the Lake district usually forsaken for the sport of the higher mountains, but offering a greater sense of wilderness and holding ample rewards for those who seek them out. We took a new approach to the area via Brantrake Crags.
A forecast of a couple of good clear days in a vigorous northerly weather stream held the promise of dramatic landscape photos, but it was much cloudier than expected and the views were rather dull, the exception being the superb sunrise we saw from the tent on Great Worm Crag. They were dead right about the wind though.
There was little hint of the predicted bone chilling blast as we set off down the road to Forge Bridge and Brantrake Farm to locate the start of the bridleway, via a stile quite well hidden in the trees, that contours back along the slope and zigzags aloft on an old track from a waymark through Brantrake Crags. The path all but disappears as it passes through a wall gap, leaving an easy trackless walk to a minor ridge overlooking Brantrake Moss with its small tarn in the middle. This is a rather wet crossing in parts but mostly quite firm and not difficult.
Thr rocky top of Rough Crag was the next objective, and at the summit the wind began to assert itself. The high peaks to the north were gradually being engulfed by mist and the anticipated clear views failed us, but it was clear at this level and we enjoyed the walk through this deserted area. Devoke Water with its boathouse lies stretched out below.
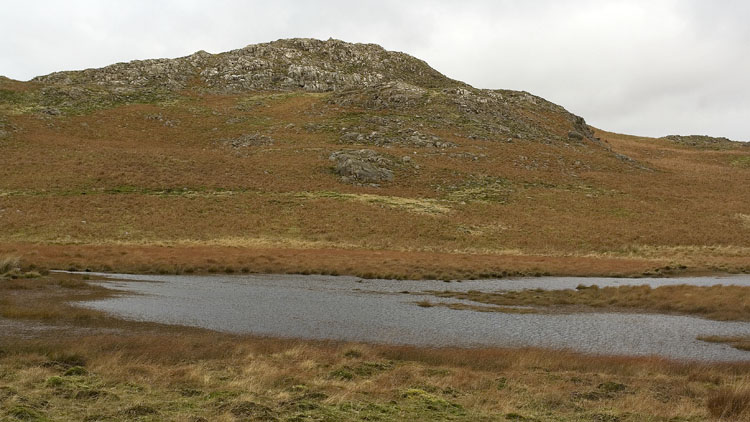

A path conveniently descends eastwards to join the Devoke Water access track a short way from the pass road. Walking up the road to Woodend Bridge, we decided to try a direct approach across Sike Moss, which seemed viable and proceeded well at first, but in the middle we were defeated by the deep quaking bogs that threatened to swallow us up to our knees. We retreated to the road and noticed dark clouds approaching that very quickly caught up with us and unleashed their payload of driving sleety rain, but it didn't last long:- just long enough for us to put on our overtrousers.
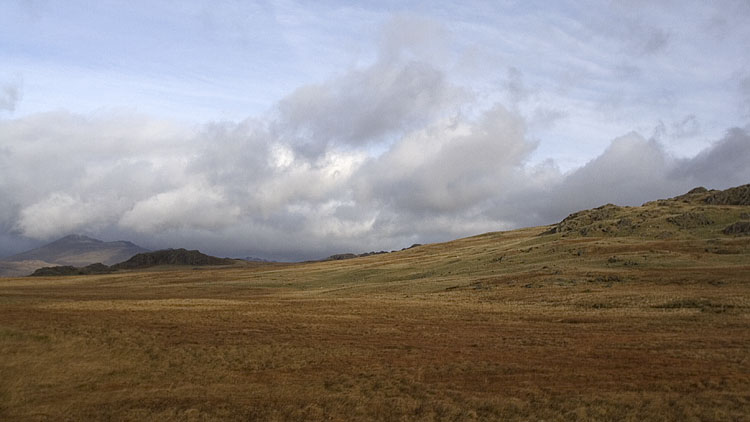
A distinct path up to the ridge starts from the road a short way before Freeze Beck. Approaching Great Worm Crag, the wind started in earnest as we forged upwards and tried to maintain a steady course against the cold onslaught until relief came on the lee side of the shallow ridge. Mindful of the rapidly shortening days, it was late enough and we decided to pitch here on the flat grassy shelf in a sheltered position. This was a lovely spot with the shapely cone of Caw prominent to the SE and a view southwards to the Duddon estuary.

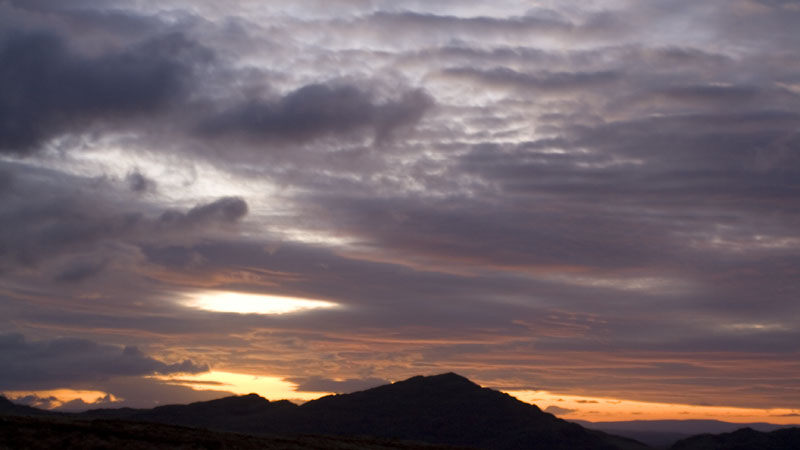
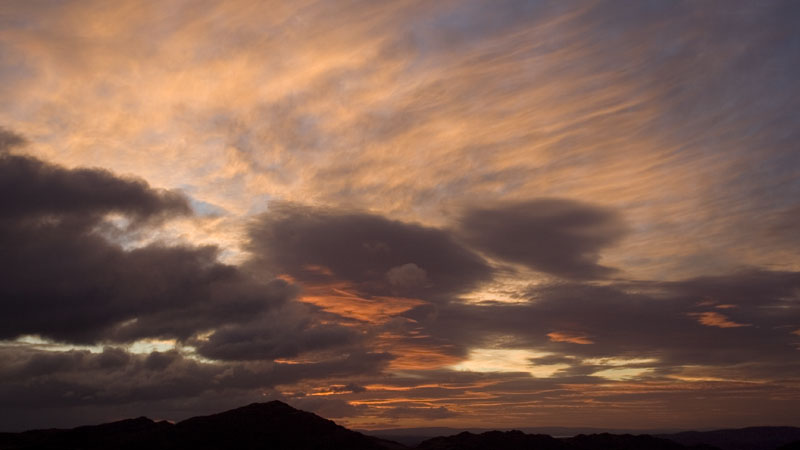
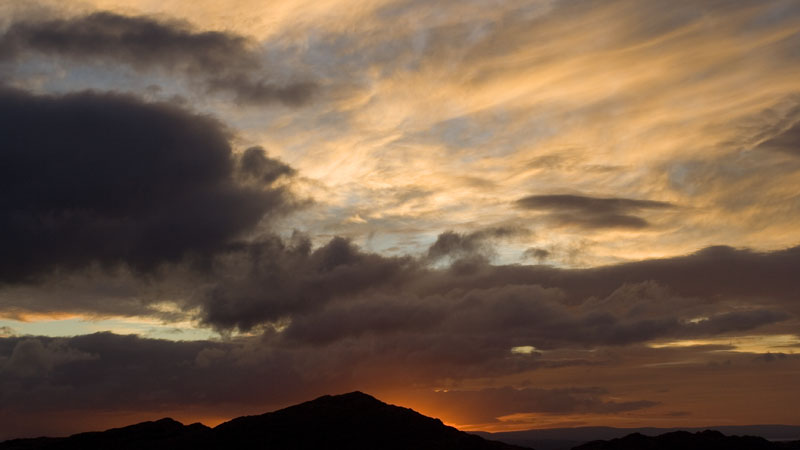
The mostly dull views of the first day were compensated, at least for a short while, by an excellent sunrise amid the turbulent clouds in the eastern sky. Usually the colour fades as the light brightens but this time they reappeared and strengthened to give a grand show. The crescent moon added to the spectacle, and near the end dark clouds masked the sun producing a red glow around Caw.

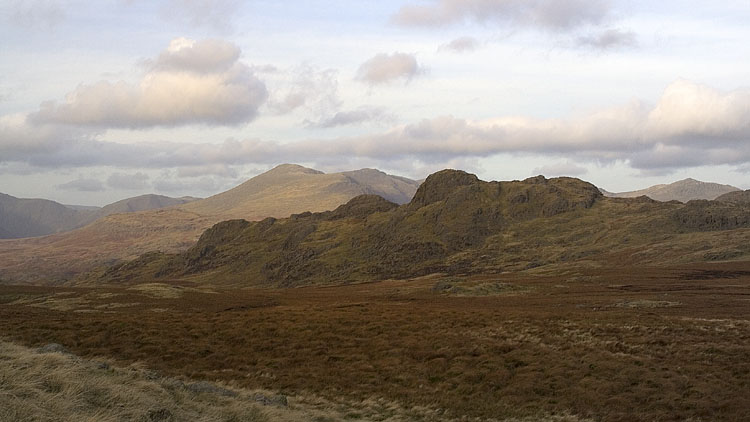
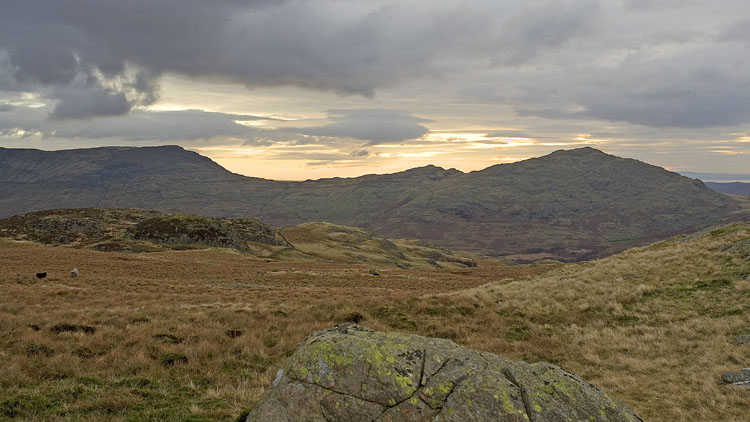
The area between here and Green Crag is generally wet and wild with prominent rocky oases, but there is a discernible path across to the very small rocky rise of Far Hill. From here the easiest and driest course is to aim for the right end of the line of rocky outcrops that culminates in White How, which gives good views over the Birker heartland and onwards to the impressive looking Green Crag. It is now an easy and enjoyable walk northwards, weaving up and around the shelves of rock and reddish bog grasses to the final climb up Green Crag. The next top Crook Crag involves an enjoyable clamber up the final rocks to its compact summit.

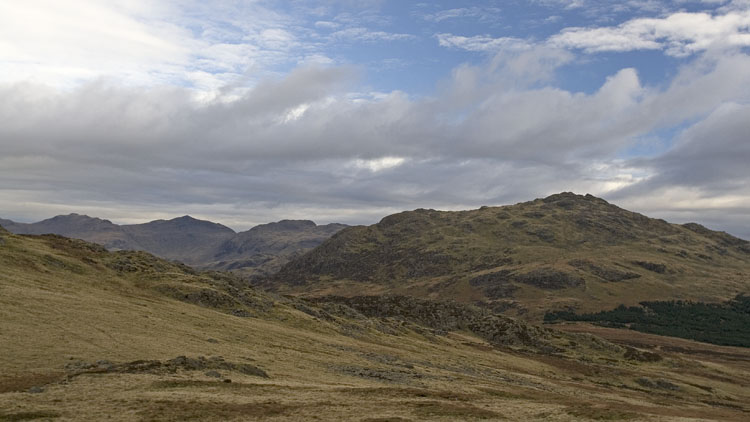
There are many ways down from Crook Crag to the path that circumnavigates Foxbield Moss and we have never been the same way twice, but at some point it's just a matter of working down from the ridge using one of the grassy breaches in the rough slopes to join the path, which contours above Low Birker Tarn and swings R at the edge of the steep slopes above Eskdale. Here it becomes a good track passing a ruined building and zigzagging down through a gate at a wall corner and descending to join the valley bridleway track back to Forge Bridge.